Uncategorized

Spring themed wreath

Hello everyone,

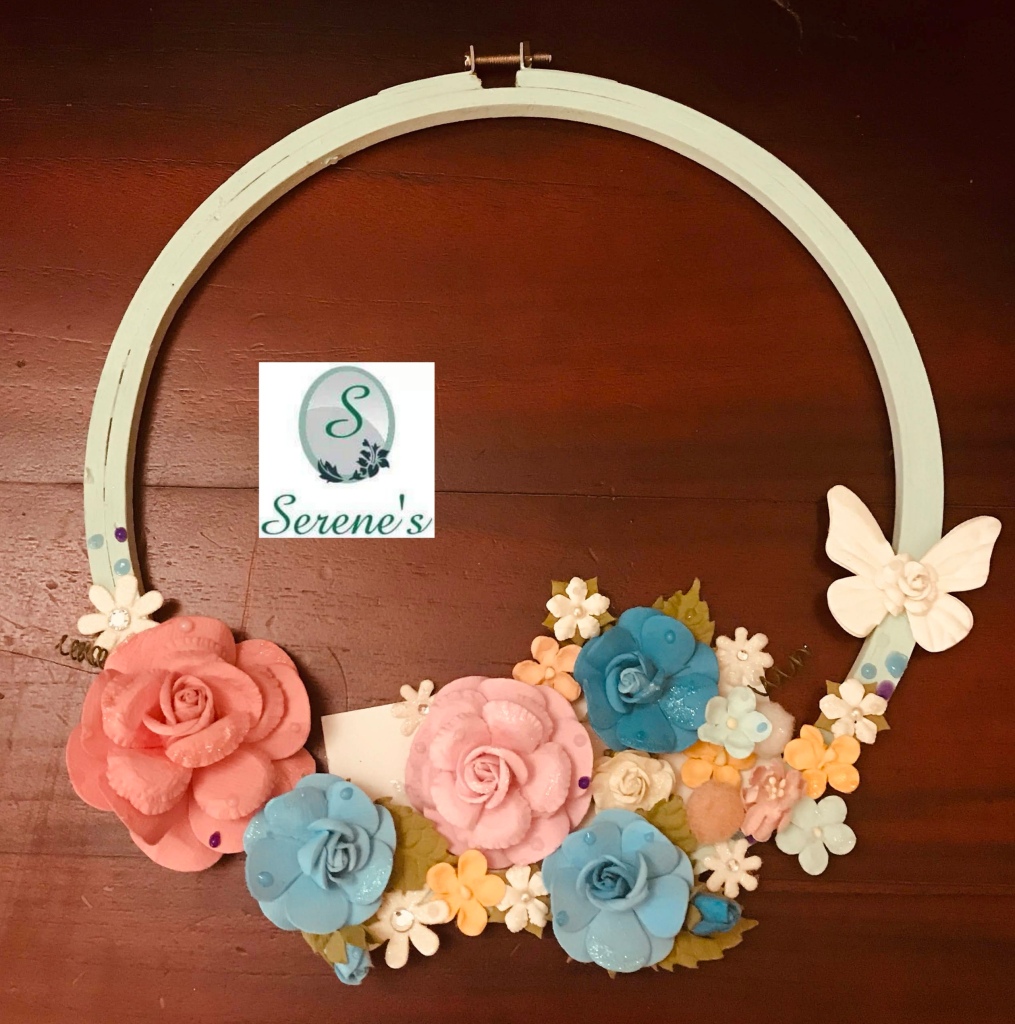
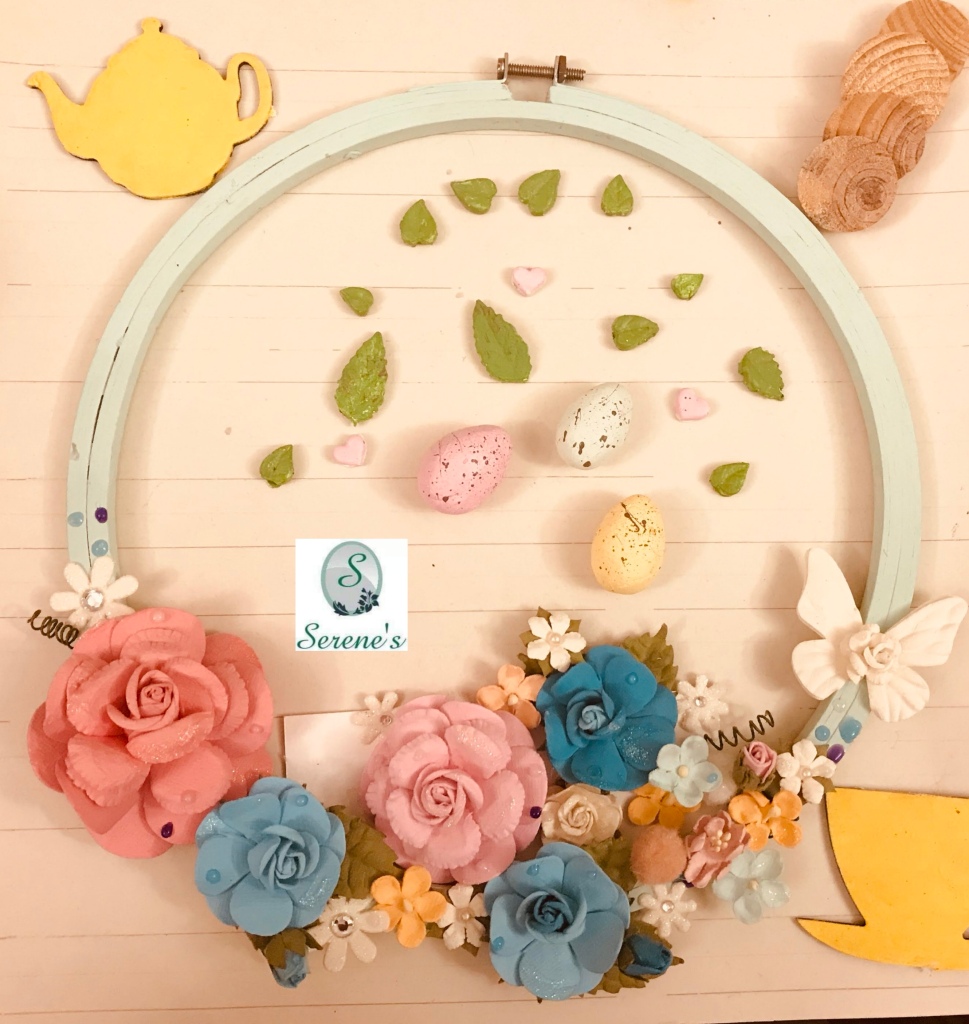
Hope you all are doing well. With the springtime and the beautiful flowers in bloom I was inspired by the pastel colours the flowers to create this beautiful wreath for home, I wanted to hang them for Easter, so I made some cute and beautiful pastel clay eggs and added a bunny made using a card stock from paperpack.

I hope this lively Spring wreath brought some colours and happiness in this difficult pandemic times. I made this wreath inspired by the beautiful pastel colours (mint green, bright yellow, grey) and the spring flowers for the Mixed media academy challenge

Method

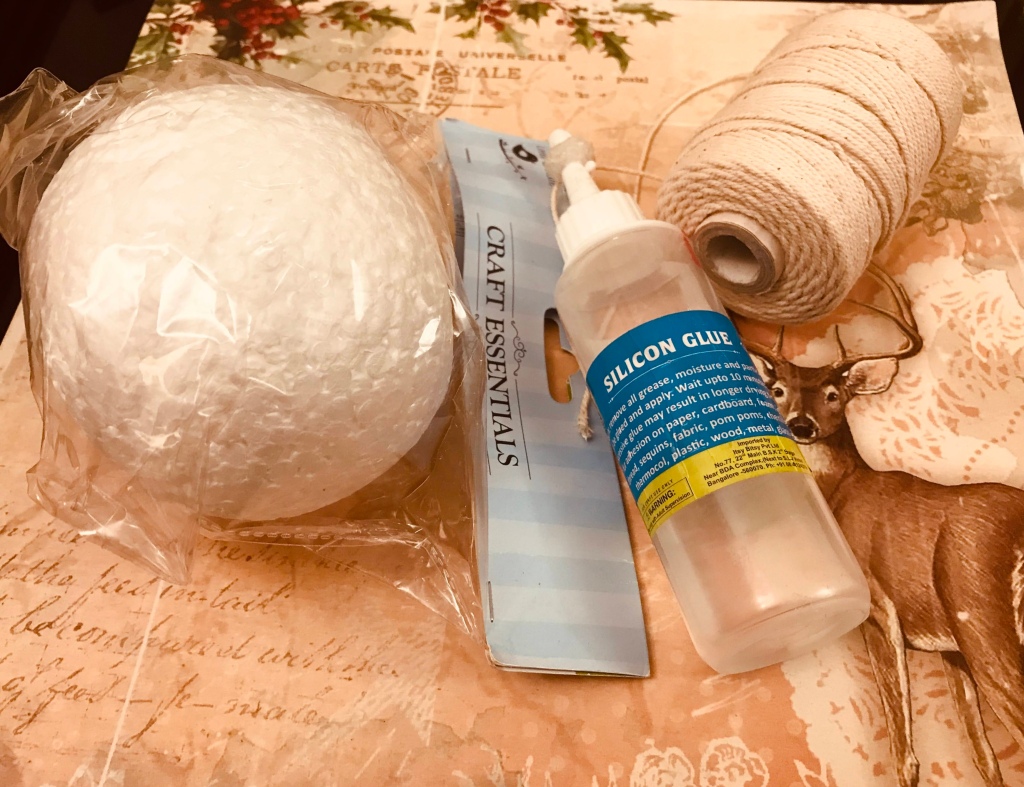
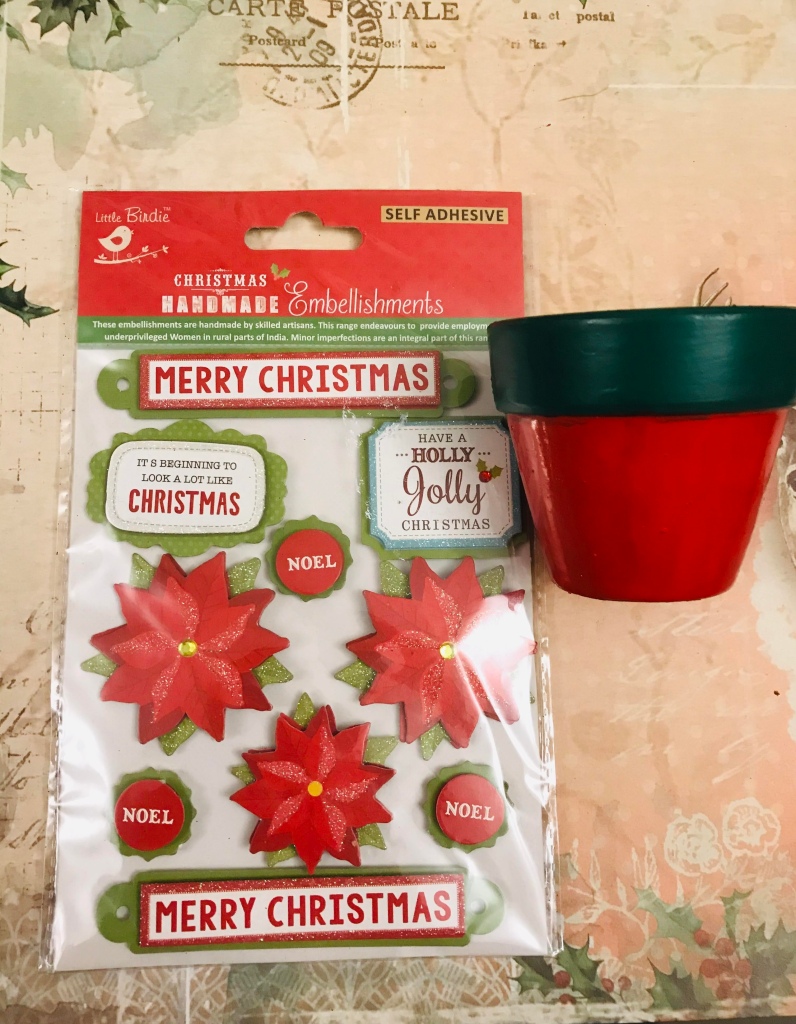
First I painted a 10 inch embroidery hoop with pastel green chalk paint seafoam from Itsy Bitsy and added the lovely little birdie handmade flowers using silicon glue. .

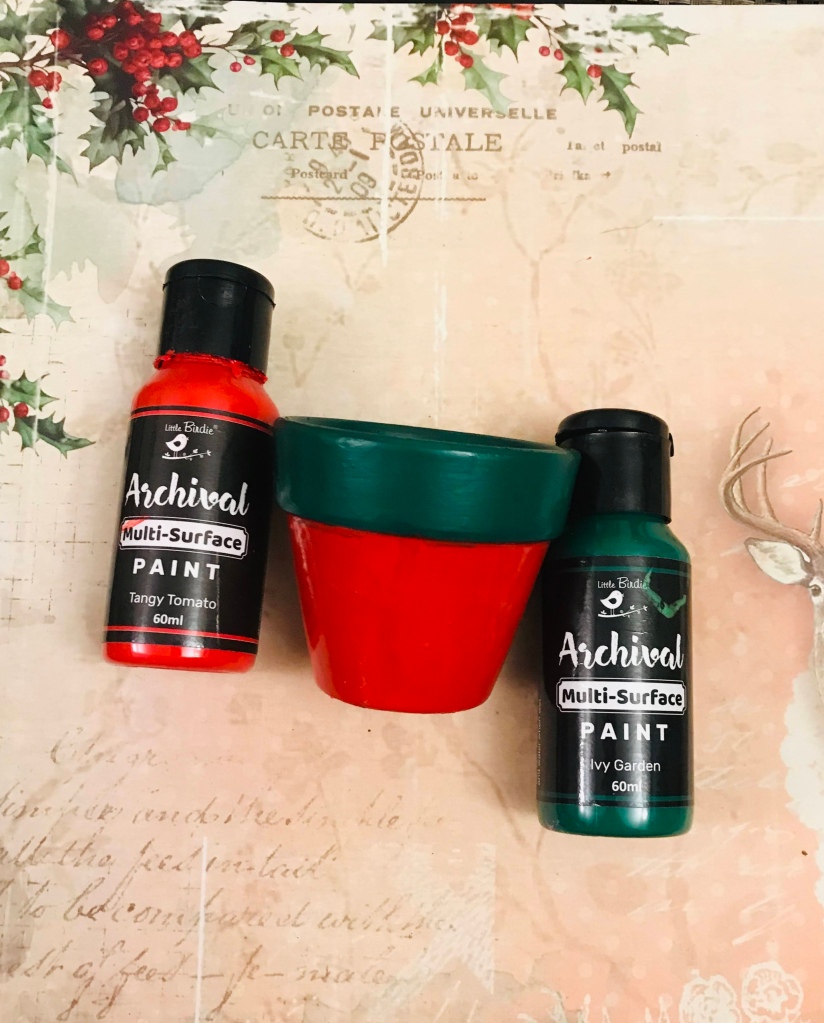
I then made some handmade eggs using airdry clay, Once dry I painted it with chalk paints, and added a splatter of brown paint. And made some cute leaves.

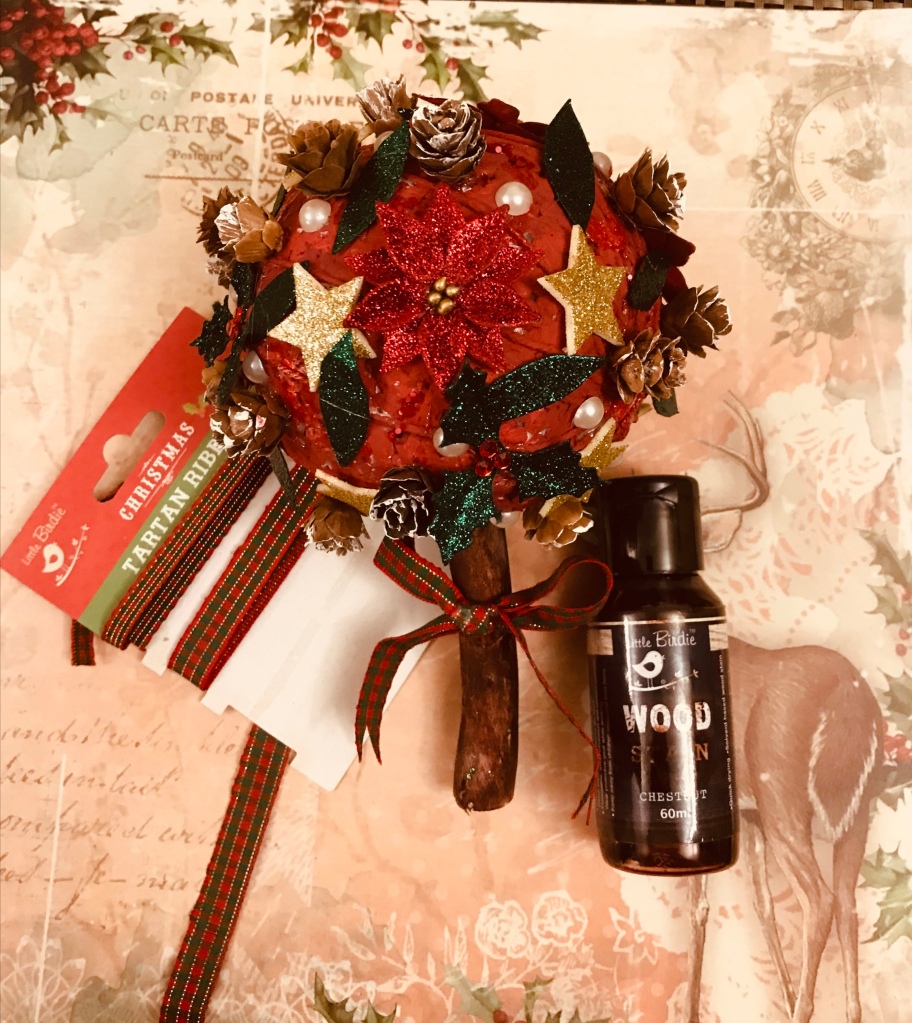
Add the clay elements using using heavy gel and I added some glitter and pearl drops on the flower.

Here is the Mixed media Academy challenge moodboard that inspired me. Hope you all enjoyed my art.

Here is the link to their blog

https://mixedmediaacademy.blogspot.com/2021/04/april-challenge.html?m=1

Uncategorized

Christmas topiary

I made this beautiful glittery and shimmery Christmas topiary for Christmas table decor.

It’s designed with a Styrofoam ball, chalk paints and multisurface paints and pine cones, Christmas embellishments and a mini terracotta pot.

I absolutely loved this project and all the raw materials are from Itsybitsy

Step 1. Use a thermocol ball of 4 inch size and cotton woven cord to wind over the ball, secure with silicon glue, let it dry.


Step 2. Scoop out a bit of the thermocol and insert and stick the natural wooden dowels in place

 Step 3. Paint the ball a mixture of sangria and salsa red chalkpaints 


Step4
Cut out simple leaves shapes about 3cm in length from green glitter handmade paper
Embellish the ball with Glitter poinsettia, Holly, handmade leaves, stars  half pearls  and small pine cones with silicon glue, dry brush edges of pine cones with buttermilk chalk paint for a wintery look.

 
Step 5. Stain the wood with wood stain chestnut and make a ribbon with tartan ribbon and attach with silicon glue in place 


Step 6. Paint a small terracotta pot with multisurface paints tangy tomato and Ivy garden, let it dry.


Step 7. Attach a bottle Cork to bottom with silicon glue, and fill spaces with sponge pieces, stick a one inch wooden slice on top of Cork and let it dry.


Step 8. Attach two bells at centre of the ribbon and attach a wooden slice at the end of stick.

.
Step 9. Stick the emblishment NOEL to the terracotta pot and once dry attach the dowel to the terracotta pot. Once dry apply a layer of heavy gel medium and arrange a layer of pine conesAnd its done 

https://craftydreamersbysl.blogspot.com/2020/11/december-monthly-challenge.html?m=1

I am submitting this lovely project as the entry no 1 for the Craftydreamers December Monthly challenge. I am really inspired by this mood board as I love everything about Christmas and the beautiful memories and colours associated with it

#craftydreamers

#craftydreamersdecchallenge

#madewithcraftydreamers

All raw materials from http://www.itsybitsy.in, you can use the code SERENE5 to avail extra 5 percent discount on your online purchase, Happy shopping.

Uncategorized

Shabby chic floral gown mixed media canvas

Hi everyone welcome to my blog post today. I have have created this mixed media canvas in colour scheme of brilliant pick, purple and teal blue along with this beautiful colours in the background with a lovely floral gown, I have added the word happy in it.

This project is my way to artistically express that we should all try to be happy in this difficult times and to live life to the fullest extent.

Hope you are well and enjoyed my work

Continue reading “Shabby chic floral gown mixed media canvas”